Creating a family yearbook

A family yearbook is probably something that’s on many people’s to-do lists, but the thought of doing the work feels very daunting. Let me show you how I went about it and made these books in the evenings over just a couple of weeks.
How I organize our photos for my family yearbook
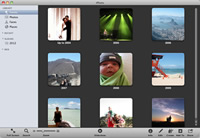 We have four cameras in our house: two phones, one digital SLR and one compact digital camera. They’re all synced onto one desktop computer and stored in iPhoto.
Time and time again I read of people losing their photos due to hardware faults, theft, losing a camera or accidental deletions. We back ours up using an external hard drive and Dropbox.
For the current year, I organize the photos by month; for past years I collapse all the months together.
Culling – step 1
 If I have time when I import in the photos, I will delete duplicates and obvious mistake photos. There’s actually quite a lot of duplicates as our two little boys like taking photos using our phone. Sometimes we find up to 100 very similar photos of their feet… I tend to keep one of these though, makes for interesting conversations!
Culling – step 2
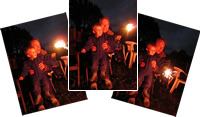 If I get a few spare minutes, I’ll look back at a folder for a few months ago and go through them again, being more rigorous with the ones I delete. I find that having a few months separation from taking them makes me not so attached to deleting photos which are very similar. I’ll Photoshop or edit directly in iPhoto any photos which need image corrections, or I want to turn into black and white. I don’t crop any photos (that’s done in Booksmart).
Culling – step 3
Then I make twelve albums corresponding to those month event folders in iPhoto. Albums are like copies of events, but if you delete from these, you’re not really deleting the photos. I use this to delete any photos I don’t want to print in our yearbook but still want to keep.
How I make my family yearbook
Import into Booksmart
Once my iPhoto album is ready, I pull a month’s album of photos into Blurb Booksmart which is where the family yearbook design really begins. I like working offline using Booksmart, rather than their online tool, since I have about 1,000+ photos to work with. I’ve also made books using InDesign, but for my yearbooks I prefer Booksmart and their standard “Portrait” size (8″x10″).
Working month-by-month
I work month-by-month so I feel I’m making progress and am not overwhelmed by the pile left to do!
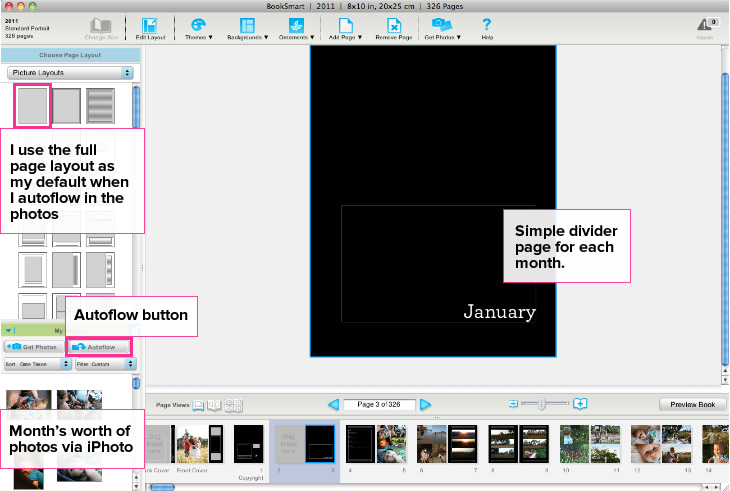
I make a simple divider page for each month which can be deleted later (I keep mine in and make sure they’re on the right hand side of a page spread). This helps me keep track of where I’m up to in the year. I also leave one page straight afterwards to write about that month’s events.
I autoflow in a month’s worth of photos at a time, and use the default full-page photo layout. I then go through the photos in Booksmart and edit the layouts. Here’s five tips when editing photo layouts:
- Don’t use too many different layouts, this gives your book a sense of cohesiveness. I would probably use less than 12 layouts per book.
- Keep an eye on how pages look in pairs when people open up your book.
- Don’t be strict about ordering within each month. Instead, try to group photos together which tell a story within a month. For example, if we’re doing a gardening project over a month, I group those together. Or if I use a set of shots the boys have taken then I’ll put them together too.
- Use similar shots together at a smaller size.
- Be careful if you use double page spreads that the important details aren’t in the middle of the photo. Also watch out for blank pages which get added by Booksmart to ensure the double page spread stays together. (You can end up with a bunch of them after a while, which you’ll need to delete.)
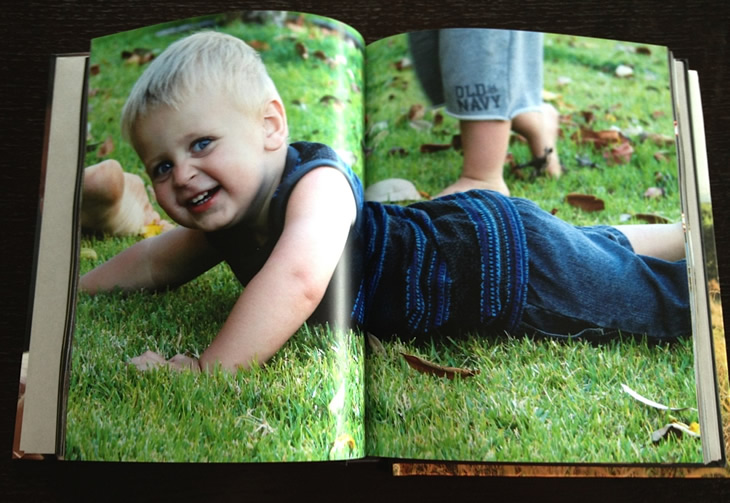
Once I’m happy with a month’s worth of photos, I’ll fill in the text for that month. I find it too overwhelming and time consuming to write a story or caption for each photo, so I keep the text strictly to the page right after the month divider.
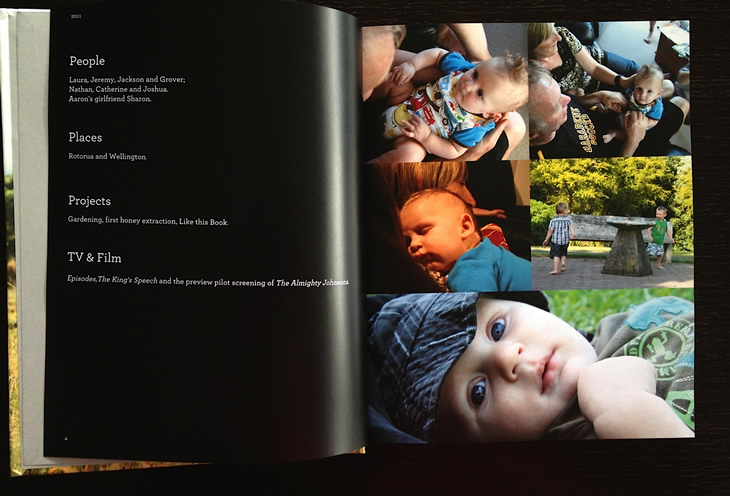
For this family yearbook, I used little headings and text afterwards listing what you can see for that month. For example:
- People
- Places
- Projects
- Events
- Quotes
In the quotes section, I selected some tweets and Facebook status updates from myself and my husband for that month. I’m also getting into the habit of jotting down little things the boys say so I can add those in too.
Don’t procrastinate, this is the perfect time of year to get making your family yearbook – and also a lovely gift (I made some for my parents and in-laws of our kids’ first year).
I’d love to see what you create!
For more ideas, see:
Lifestreaming: a physical yearbook:
“Wouldn’t it be fun to have selected quirkly little comments on my Facebook photos printed alongside some of his photos in a physical photo album? To print selected Tweets or Facebook status updates which document the time and date he achieved milestones?… One which grabs your Flickr photos and comments and mashes these up with comments from their copy in Facebook into a physical yearbook, which interleaves in your significant tweets, Facebook status updates, blog entries, a special page with movies posters for the movies you watched that year, a special page with the songs you listened to the most, covers of books you read, and more? Another page at the back could have your Facebook friends’ profile photos frozen in time for you to reminisce over in years to come.
New Year’s Resolution: Print More Stuff?:
“Increasingly we’re not leaving a record of life by culling and stowing away physical journals or shoeboxes of letters and photographs for heirs or the future. Instead, we are, collectively, busy producing fresh masses of life-affirming digital stuff… We pile up digital possessions and expressions, and we tend to leave them piled up, like virtual hoarders… what do they add up to when we’re gone? The legacy of a life you hope your survivors will remember? Or a jumble of “digital litter” for them to sort through?”
How do you extract a memento from the online world?:
[blockquote cite=”Merwyn Scott”]
“You can’t show your children your BlackBerry or your computer screen. In 30 years, my children will be able to touch and feel these papers when I tell them all about this historic day.”
[/blockquote]
[blockquote cite=”Joyce Mutcherson-Ridley”]
“You can’t put a computer screen into a scrapbook”
[/blockquote]
[blockquote cite=”Rob Pegoraro”]
“How do you memorialize an exuberant comments thread on a blog post or a series of ecstatic Facebook status updates when those pages could move or disappear? …how do you make something permanent in a medium built on constant change? For me, the only answer to come to mind is “print out and frame a screen capture.” What about you? How do you extract a memento from the online world?
[/blockquote]
